
Kimchi Fried Rice (볶음밥)
By Lee Jackson ↣ Published on: May 1, 2020
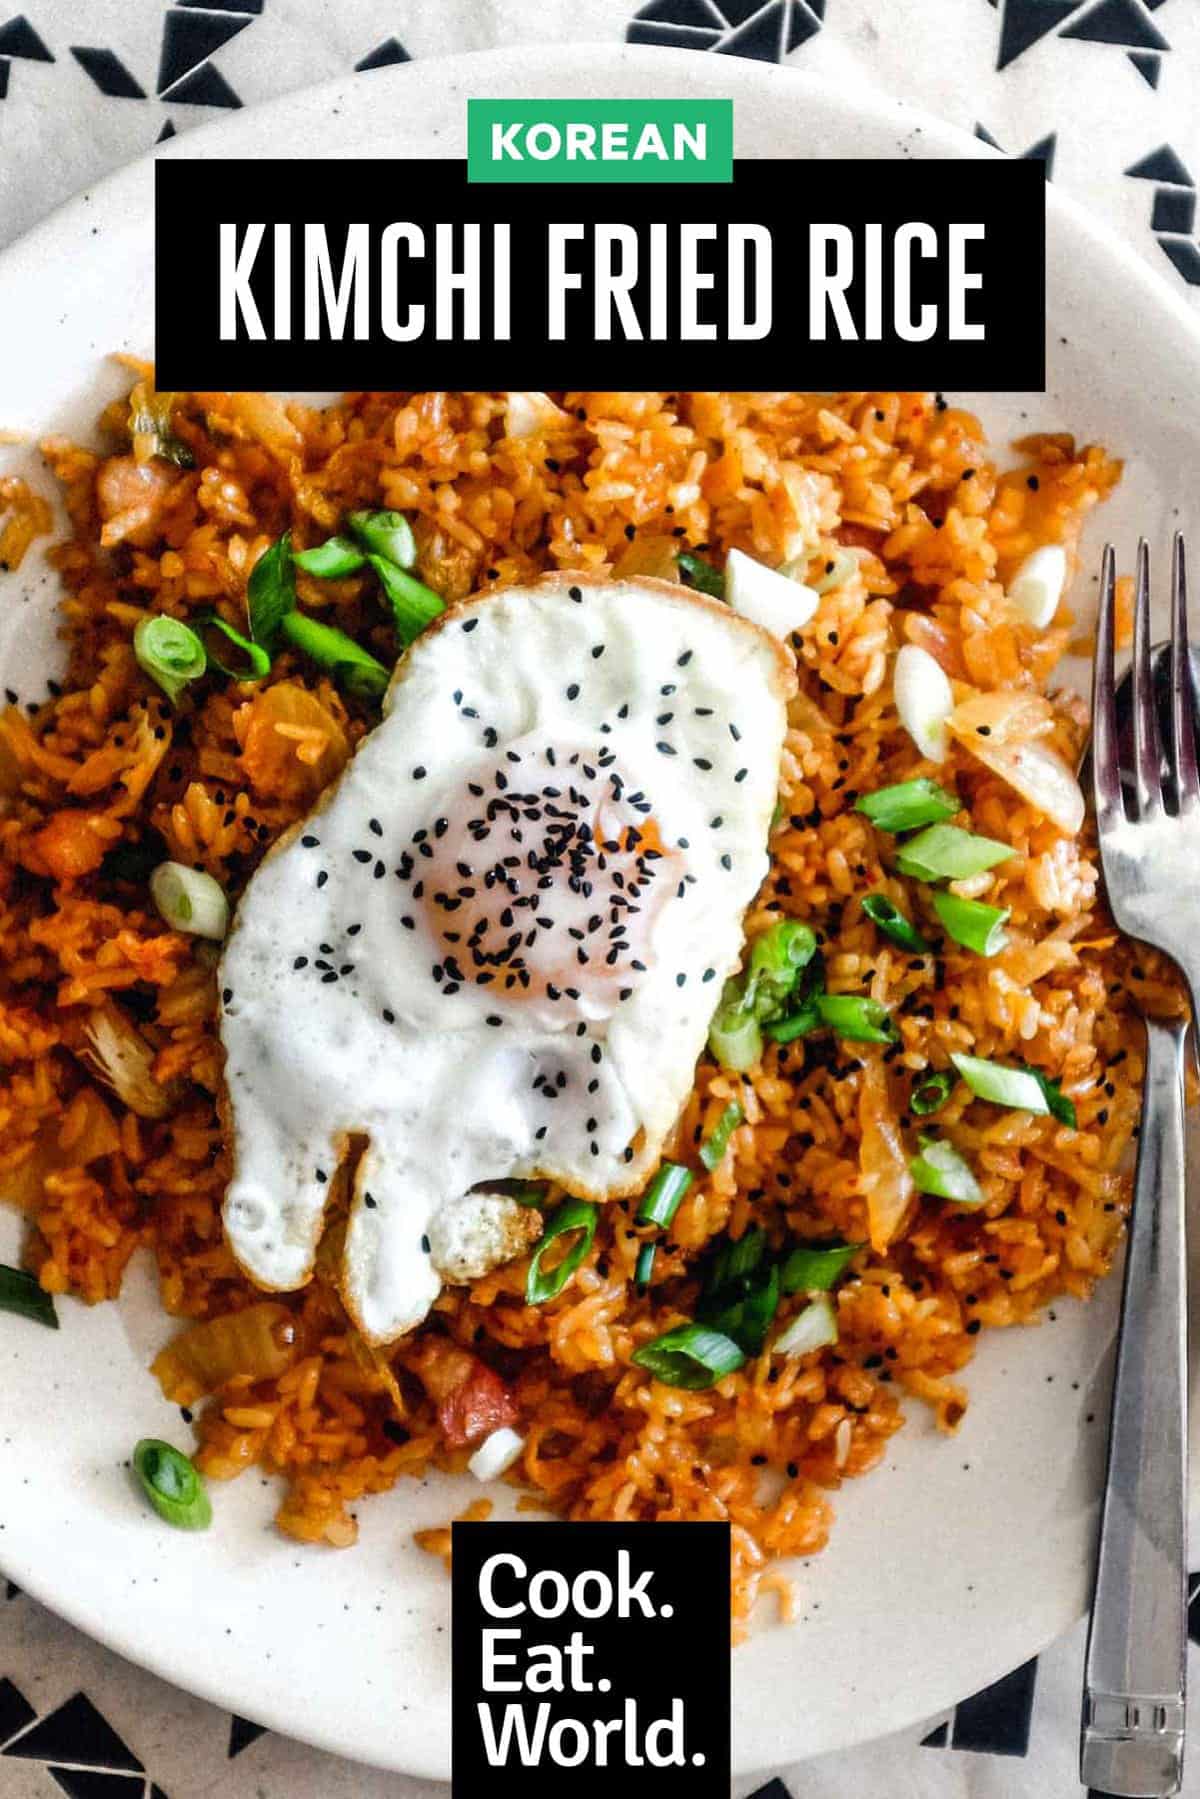
There are few dishes more satisfying than a big helping of Korean kimchi fried rice. Sweet, spicy and hearty. This combination of flavour and texture is second to none, especially when topped with the perfect crispy and runny fried egg.

Born out of a need to use up the previous night's leftover rice, fried rice became a staple as a morning dish throughout Asia.
Most Asian countries boast a tasty fried rice dish - and they're all delicious. Have you tried a simple egg fried rice or a fried rice with salt fish from China? Or how about a Laoatian fried rice ball salad Nam Khao? it's an absolute dream! Lastly, how can I look past the mighty nasi goreng from Indonesia and Malaysia? It's one of my all time favourite foods period.
But the one I find the most intoxicating and the one I find myself thinking about all-the-time is Korean kimchi fried rice (Kimchi Bokkeumbap - 볶음밥). The sweet, spicy flavours are the essence of Korea and are sheer perfection with the funky umami of kimchi. This fried rice may just well be the king of Asian fried rice. What do you think?

What is Kimchi?
Kimchi is a traditional Korean dish consisting of fermented vegetables, typically cabbage and radishes, seasoned with chili peppers, garlic, ginger, and other spices. The vegetables are usually pickled in a brine and then left to ferment, creating a tangy and flavourful condiment.
Kimchi is a staple in Korean cuisine and is often served as a side dish, but also as an ingredient to other dishes like this fried rice or the delicious Kimchi Pork Stew.
Why it works?
It's intensely flavourful - Kimchi and gochujang bring all the ready-to-go flavour for this rice. Rich, tangy and funky with a little hit of spice too. It's rice perfection.

Stuff You'll Need
Makign kimchi fried rice isn't a difficult affair, here's how to make it work at home.
- Kimchi - the star of the show, buy whichever kimchi you like, but I always go for a cabbage kimchi with a mild to medium spice. It brings all the funky fermented flavour to the fried rice.
- Bacon - Not strictly authentic, but a welcome addition, I use salt pork or unsmoked bacon lardons. For an alternative, cube up some Spam - Koreans LOVE Spam!
- Gochujang Sauce - the unmistakeable tangy, sweet spice of gochujang adds to the flavour.
- Garlic - Koreans love garlic so there's quite a bit used.
- Ginger - will bring a much welcomed fragrance to the rice.
- Onion - adds a little backbone
- Cooked rice - a short or medium grain rice is good. Leftover rice is best, but if you don't have any cook some and then let it cool completely before using. If the rice is hot when it goes into the pan it'll turn into mush. Cold rice is essential.
- Soy sauce - use light soy for a little extra salty umami at the end.
- Fried egg - this is optional, but honestly it pained me to type the word optional - it's a MUST have for me. Cook it in a wok in plenty of oil to get the bottom crisp while retaining a runny yolk that will ooze into the rice. YUM!


Step by Step
Making Kimchi Fried rice is easy - here's how to get that restaurant quality fried rice at home in half the time delivery would take!
- Step 1 - Fry the bacon pieces in a wok over a medium heat with no oil. After a few minutes the fat will render out and the bacon crisp up. Remove the bacon with a slotted spoon or spider strainer.
- Step 2 - Add the onion to the pan followed by the garlic and ginger. Fry for a few minutes until the onion is softened.
- Step 3 - Add the kimchi and fry for a minute until hot.
- Step 4 - Add the cooked rice and stir well to combine. Cook for a few minutes until the pan is hot.
- Step 5 - Add a little kimchi juice from the container and the gochujang and return the bacon to the rice. Add the soy sauce and stir well.
- Step 6 - Smooth out the rice and let it cook for a few minutes without touching the pan, this will crisp up the bottom layer lightly for that restaurant-made texture. Remove from the heat.
- Step 7 - optional - fry an egg until crisp on the bottom but soft on top. Set aside on paper towels.
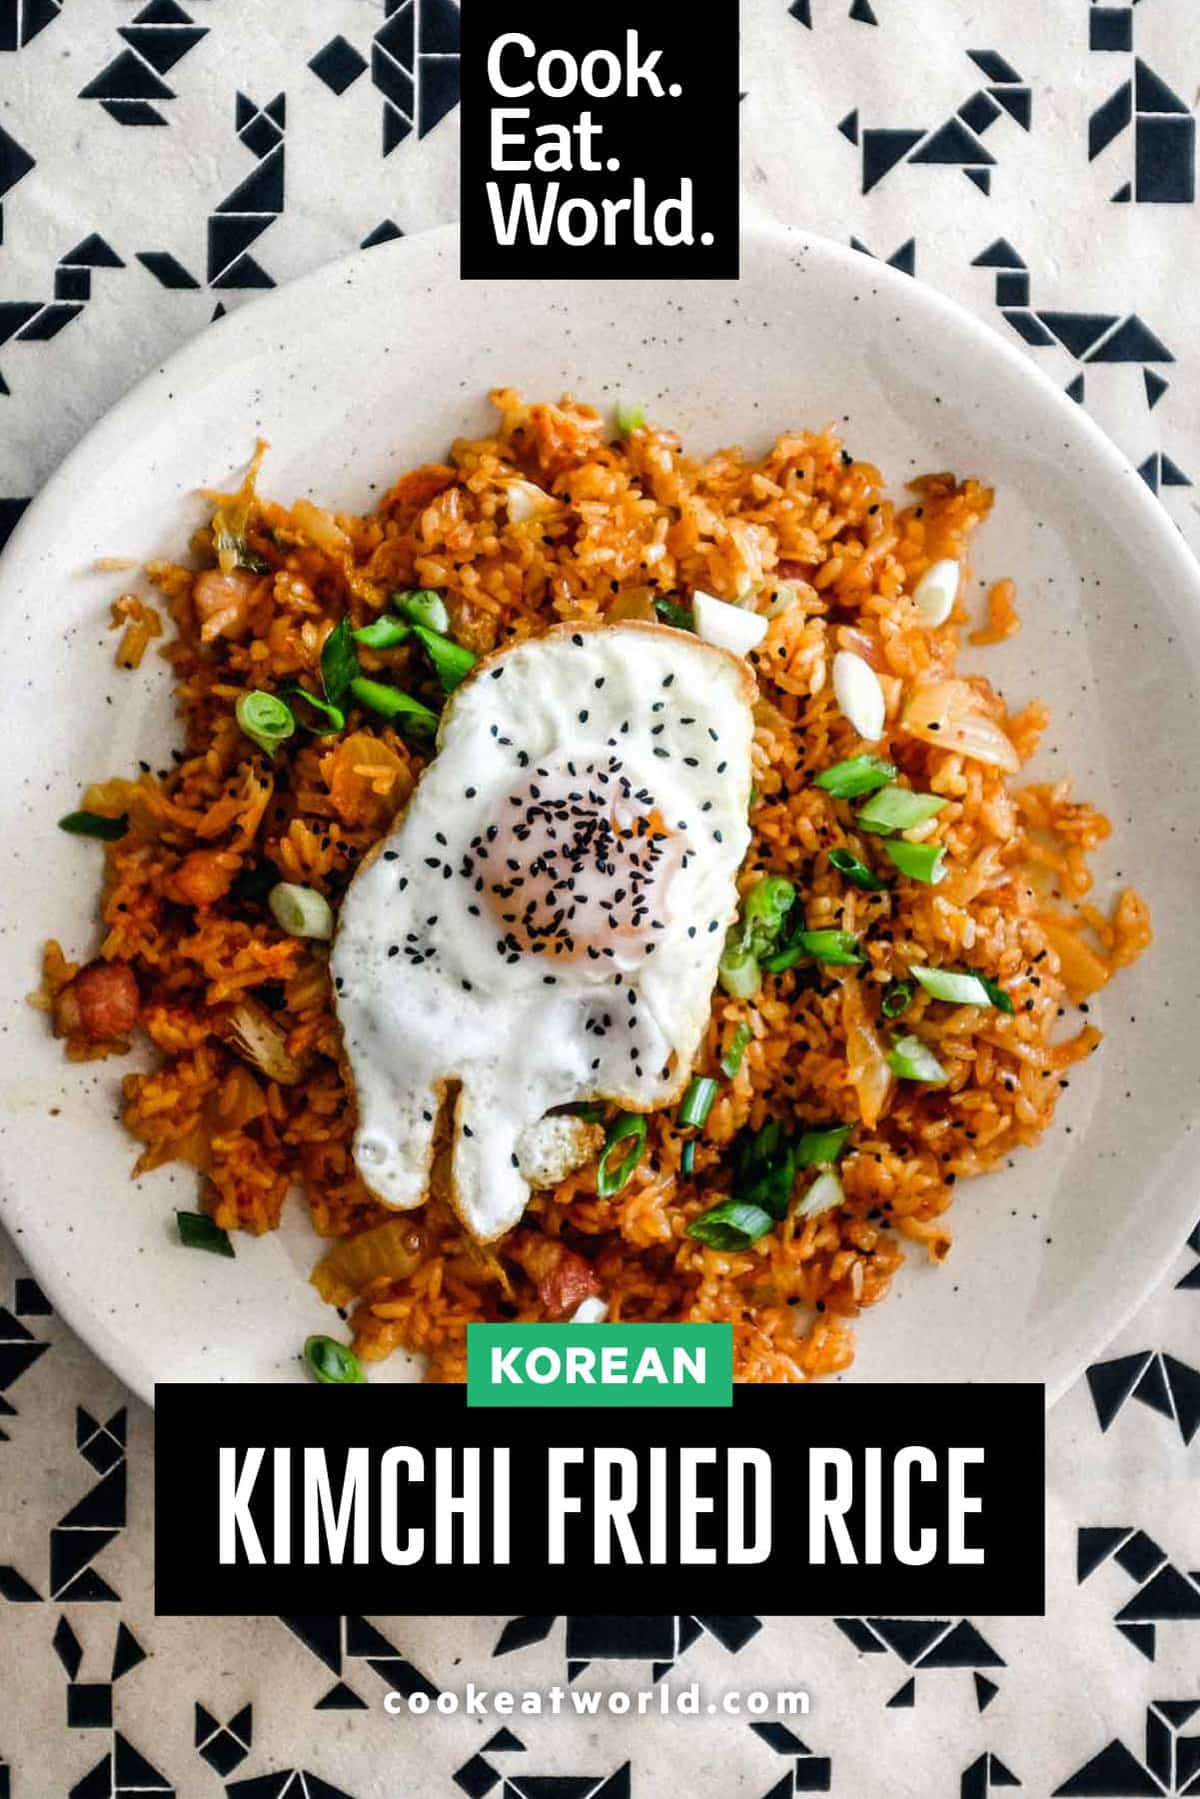
Decant your kimchi fried rice to a bowl and top with the egg if using. Scatter over some spring onion if you like and decorate with toasted and black sesame seeds.
Pro Tips
Crisp rice - To achieve that restaurant-style crisp rice which happens from a nuclear heated hot wok, I leave the rice at the end for a few minutes to char a little. It creates a light crispiness to some of the rice grains.
Serving Suggestions
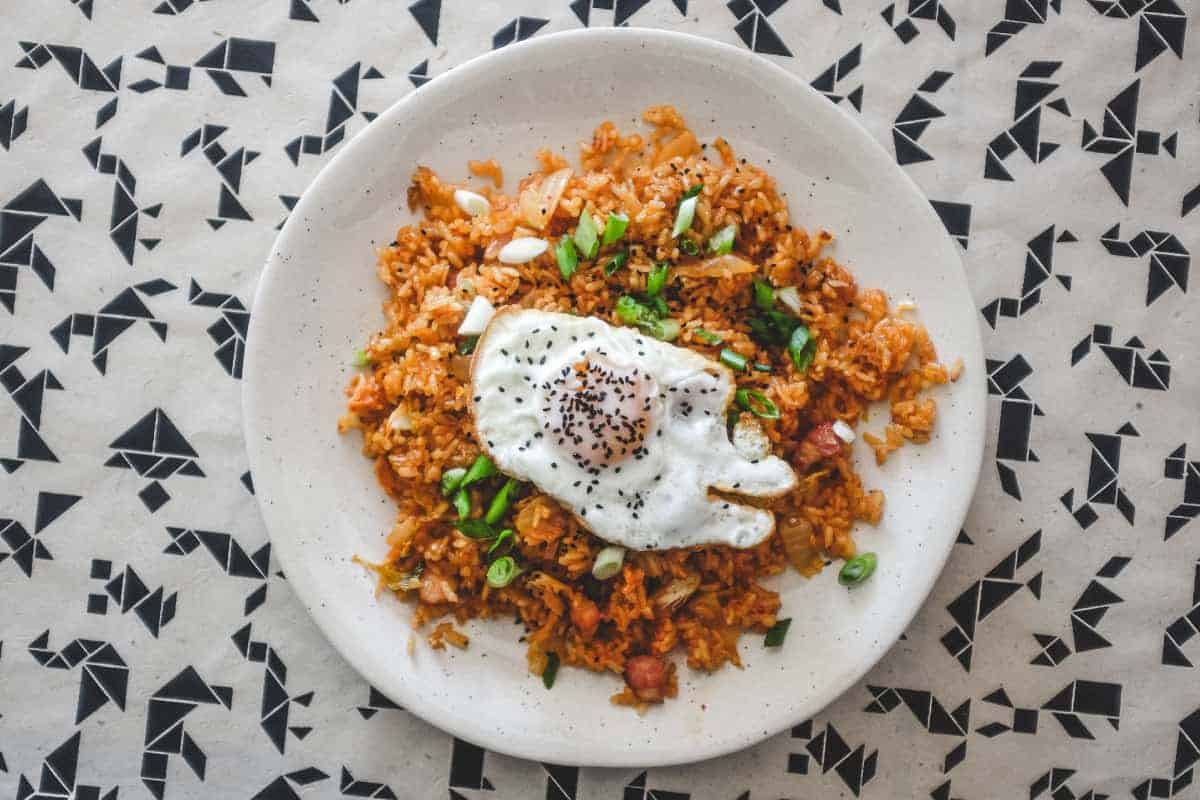
Serve as a meal in itself straight from the wok. A fried egg is just amazing, and I'll often serve a few sliced tomatoes, radishes and/or cucumber alongside.
- Fridge - leftovers are good in the fridge for 3-4 days (tightly covered). Reheat in a microwave or in a pan until hot again.
- Freezing - store in airtight containers and reheat in a microwave until piping hot (stirring once or twice while reheating).

Ready to get cooking?
So it's no surprise that this dish is one of my most favourites. I'm a big fan of fried rice at the best of times, but when combined with all that funky flavour of kimchi, I just can't get enough of the stuff.
What makes this even better, is that it's so easy to put together at home - I'll often over-order take out rice, or make double quantity rice for other Asian recipes, to use over the next few days for kimchi fried rice. I'm sure you'll just love this Korean favourite as much as I do. Hope you enjoy!
More Korean & Japanese recipes
If you liked my kimchi fried rice, I'm sure you'll love more of my favourite Korean & Japanese recipes.
- Bibim Guksu (Korean Spicy Cold Noodles)
- Kimchi Pork Stew
- Salmon Soba Noodles with Miso Dressing
- Korean Gochujang Noodles with Pork
- Gochujang Chicken
- Korean Samgyetang (Ginseng Chicken Soup)
- Korean Braised Tofu – Dubu-Jorim | 두부조림
- Chicken Katsudon
- Chashu Don (Japanese Pork Rice Bowl)
- Sticky Baked Chinese Chicken Wings
- Chicken Katsu Curry
- Vietnamese Pork with Lemongrass & Chilli
- Chinese Snow Pea Sprouts with Garlic
Any Questions? (FAQ)
Have a question about this delicious Korean kimchi fried rice? Let me know in the comments.
Kimchi Fried Rice is a Korean dish featuring stir-fried rice with kimchi, vegetables, and often accompanied by meat or tofu. Seasoned with soy sauce and garnished with spring onions, it offers a delicious blend of spicy, tangy, and savoury flavours.
Kimchi Fried Rice boasts a unique taste, combining the bold, tangy essence of kimchi with the savouriness of stir-fried rice. The dish offers a delightful fusion of spicy, umami flavours, complemented by the textures of vegetables and, optionally, meat or tofu.
Yes, kimchi is a healthy food. Packed with probiotics, vitamins, and antioxidants, this fermented Korean dish supports gut health, aids digestion, and may boost the immune system. Its low-calorie content and nutrient richness contribute to overall well-being. Fried kimchi contains more calories, so be aware when consuming as part of a healthy diet.
This recipe uses affiliations and may receive a commission based on your activity (link clicks). Learn more.
Video Recipe
Ingredients
- 1/2 cup salt pork (cut into dice) (or use 4-5 rashers bacon)
- ½ onion (medium, diced)
- 1 tbsp ginger (chopped)
- 1 tbsp garlic (chopped)
- 2 cups kimchi (Napa cabbage variety) (roughly chopped)
- 3 cups cooked rice (left to cool completely - day old is best)
- 1 tbsp Gochujang (Korean chilli paste)
- 1 tbsp light soy sauce
- 3 spring onion (sliced, for garnish)
Optional
- fried eggs (not really optional!)
- nigella seeds (for sprinkling)
Instructions
- Add the salt pork/bacon to a large dry frying pan and bring it to a medium high heat. Let it cook for 2-3 minutes to brown and render out the fat.
- Remove the salt pork and if there's a lot of fat, pour out until you have about 2-3 tbsp left.
- Add the onion, ginger and garlic and fry for about 2-3 minutes until browned.
- Tip in the kimchi, followed by the cooked rice and stir fry to combine for about 1-2 minutes.
- If you had any kimchi juice, pour in about 1/2 cup, followed by the Gochujang. Stir this into the rice to combine everything.
- Return the salt pork to the pan and season with the soy sauce, stir well.
- Flatten the rice over the surface and let it cook for abour 3 minutes over a medium heat to get a little crispy on the bottom, being careful not to burn. Stir the rice and repeat this process, letting it cook for a further 1 minute.
- Stir the rice one more time and that's it! You're (almost) ready to serve.
- Optional: Fry an egg for each person without turning. Let it get nice and crispy on the bottom. Drain on a paper towel.
- Spoon a portion of the rice onto a plate and top with a fried egg and a sprinkling of spring onions. Give the egg a little sprinkle of Nigella seeds and you're ready to eat!
Notes
- Fridge - leftovers are good in the fridge for 3-4 days (tightly covered). Reheat in a microwave or in a pan until hot again.
- Freezing - store in airtight containers and reheat in a microwave until piping hot (stirring once or twice while reheating).
Nutrition


Leave A Comment